English

How to Set Up Usenet on a Raspberry Pi

Closeup of a computer screen showing the startup of a Raspberry Pi loading Raspbian

Table of Contents

Today, we think of the Internet as websites and social media feeds. There is one part of the Internet with roots in an earlier online community: Usenet. Predating the World Wide Web, Usenet is composed of tens of thousands of discussion forums categorized by topic called “newsgroups.”

Why Usenet is Still Thriving in 2024

Usenet offers a unique experience compared to other online forums. Discussions on Usenet can be more extensive and threaded, allowing for comprehensive exploration of thousands of topics. Conversations aren’t ephemeral; they’re archived for lengthy periods, even decades.This reliable source of past discussions creates a sense of continuity and allows newcomers to grasp the history and nuances of a particular topic.

Usenet has always encouraged a strong sense of community. Unlike the fleeting interactions of social media, Usenet discussions tend to be more focused and in-depth. Regular contributors with a shared interest in a specific newsgroup form a community, fostering a deeper level of engagement and knowledge exchange. Usenet is a valuable resource for those seeking serious conversation and expertise on a wide range of subjects.

What is a Raspberry Pi?

The Raspberry Pi is a series of miniature computers developed with the intention of promoting computer science education. Despite its small size, the Raspberry Pi is a fully functional computer capable of running a variety of operating systems and software applications. Thanks to its affordability and versatility, the Raspberry Pi has become a popular tool for hobbyists, educators, and tech enthusiasts alike. Its compact size and low power consumption make it ideal for embedded computing projects.

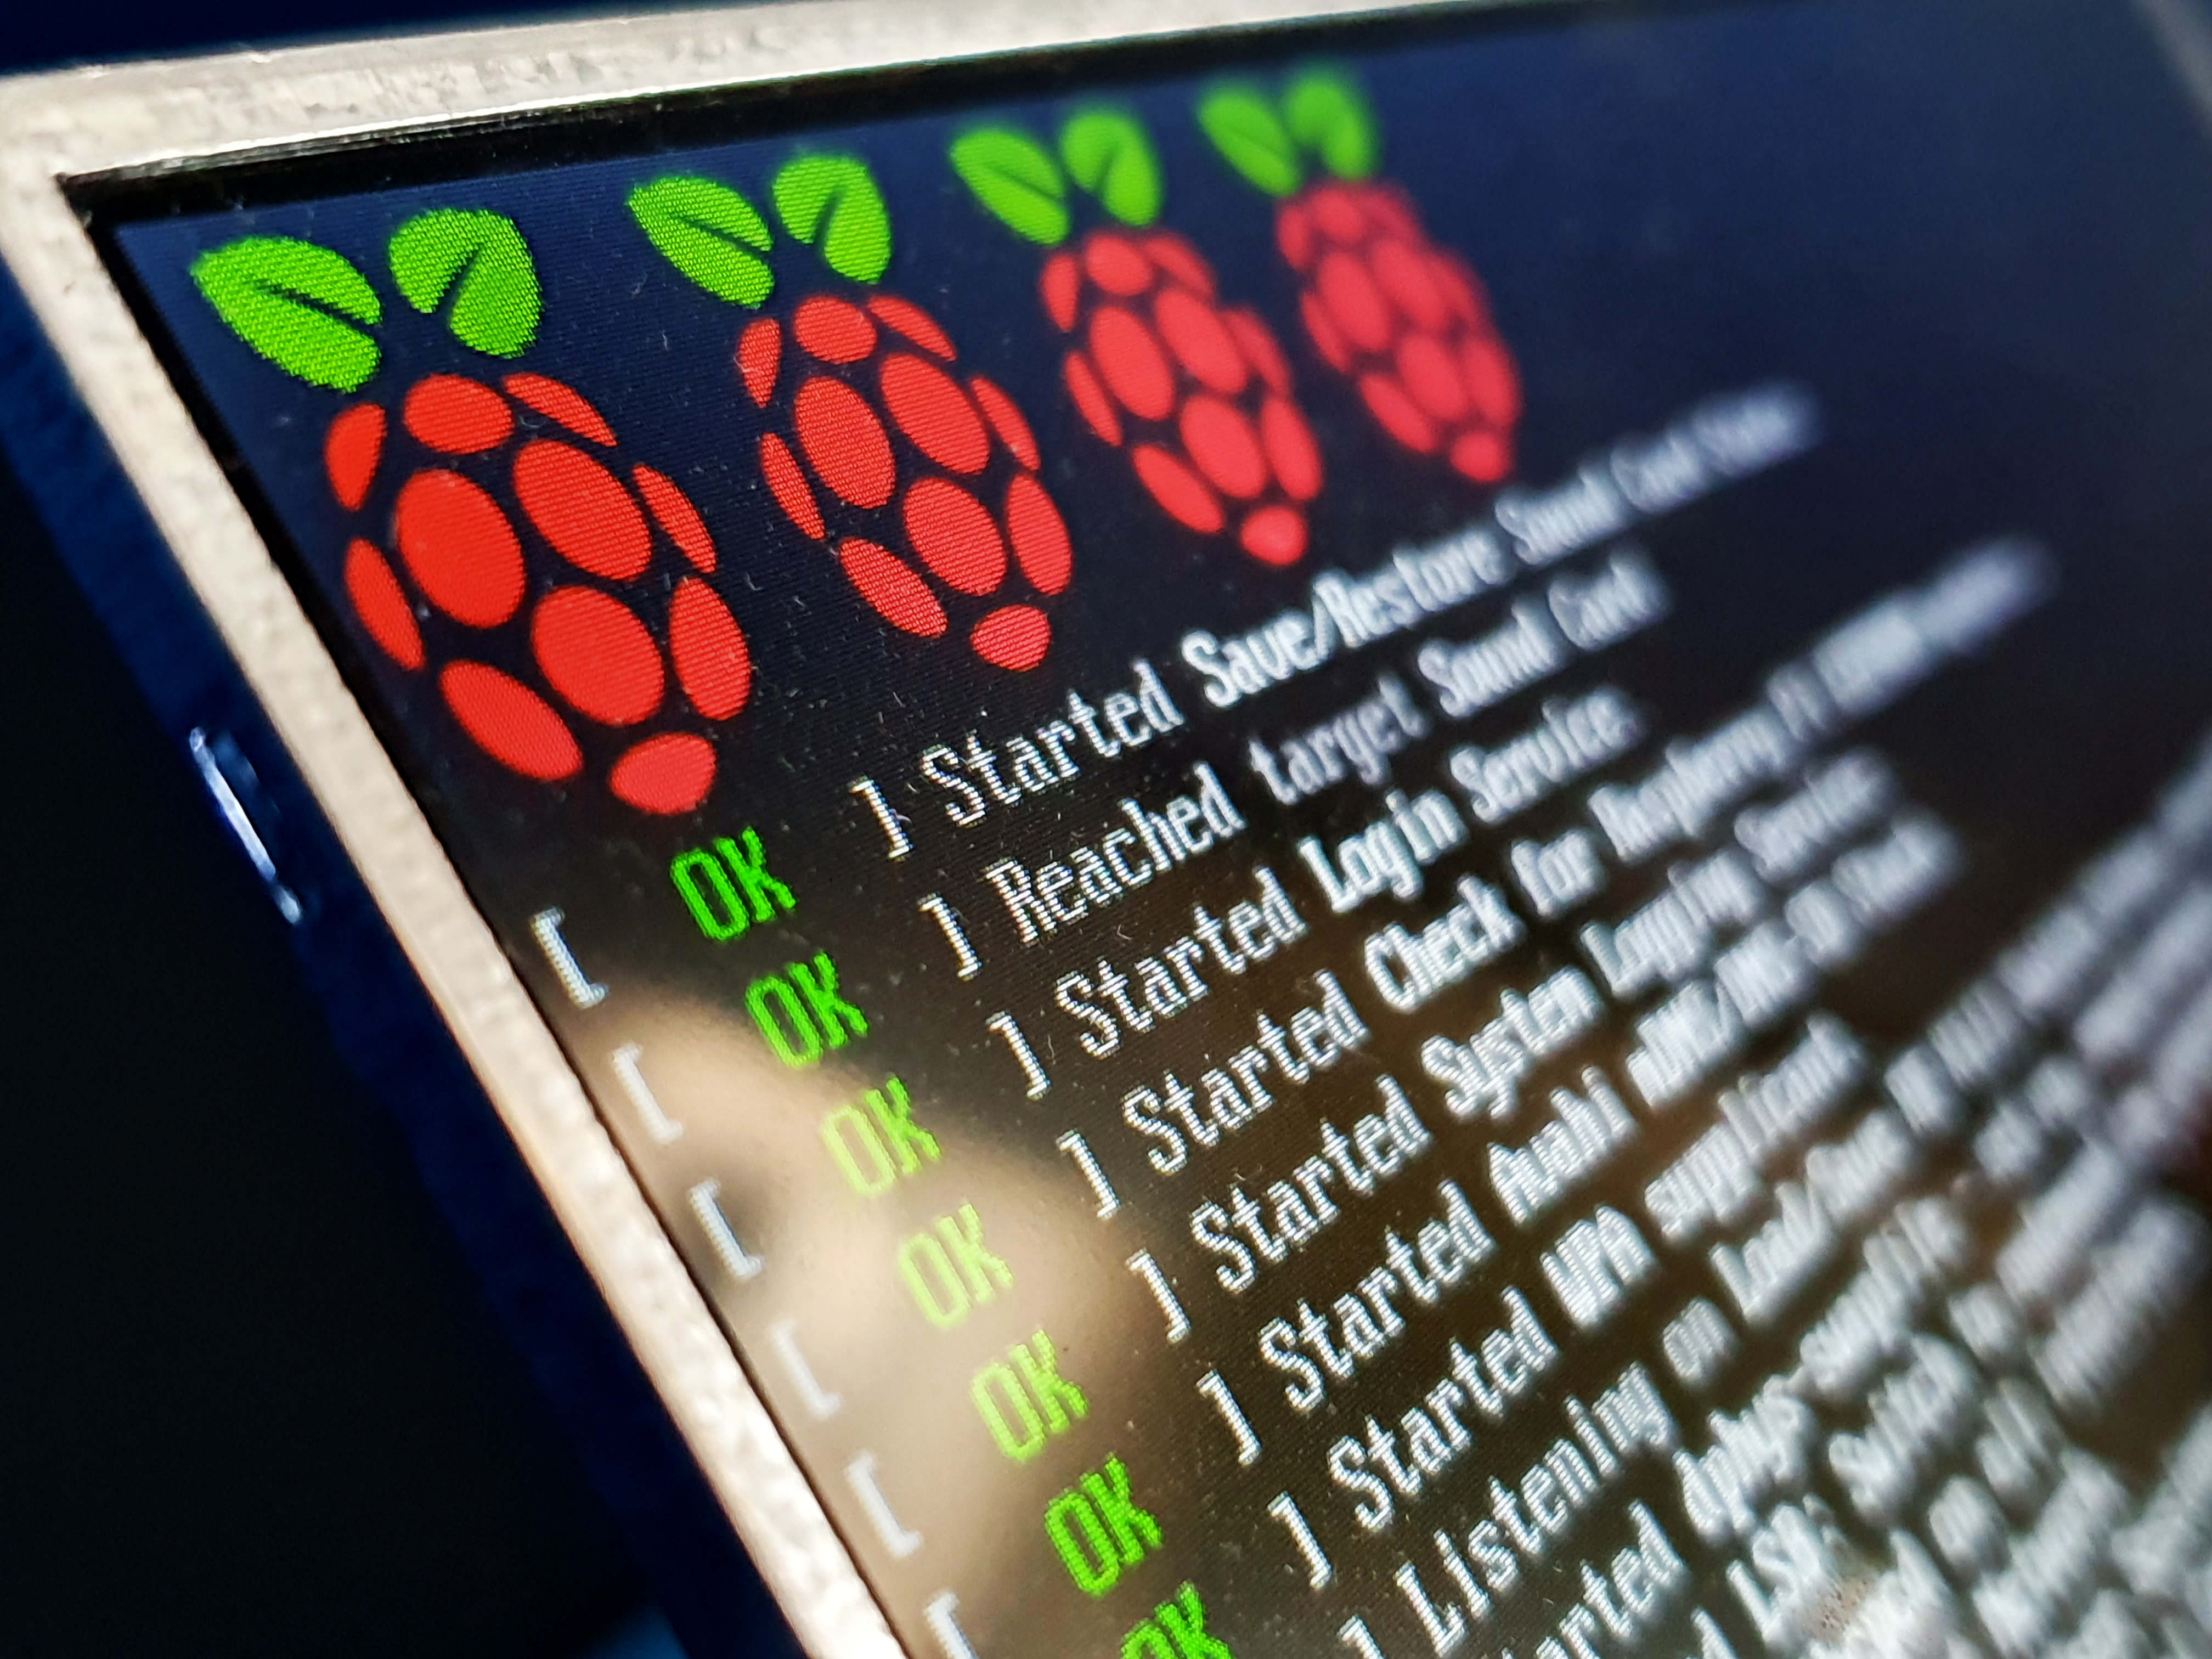
While a Raspberry Pi can 
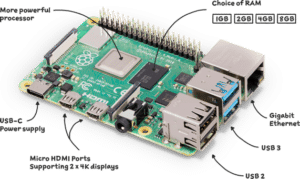
run most operating systems at some level of proficiency, it also has a Linux distribution, Raspbian (a Debian variant), that is optimized to work with the RPi hardware. For this guide, we will assume you are using Raspbian.

Picture of a Raspberry Pi 4 Model B. The processor, USB-C, HDMI ports, RAM, Ethernet port, and USB 2 & 3 ports are pointed out.

Why use Raspberry Pi for your Usenet Activity?

For power Usenet users, offloading your NNTP activity to Raspberry PI,  keeps your main desktop or laptop free for things like playing games or checking out websites.

Starting the Installation Process

In this guide, we will be installing SABnzbd, but similar processes can be used with any newsreader of your choice.

Update and Upgrade

  1. If you are using a Raspbian GUI, open a terminal window. If you are using the command line or accessing the Raspberry Pi with SSH, type all of this directly.
  2. Update and upgrade your Linux distribution by typing the following:
				
					sudo apt-get update
sudo apt-get upgrade


This updates the list of software that you can install through apt-get to make sure you’re getting the latest version. If it’s been a while since you’ve done this (or you never have), then it’ll take a while, so sit back and relax.

  1. After the updating and upgrading process is complete, you can clean up temporary and unused packages by using the following commands. This will keep your system running smoothly.
				
					sudo apt-get autoremove
sudo apt-get clean


Install SABnzbd

  1. Open a terminal window.
  2. Input the following command to install the core dependencies for SABnzbd. One of the best things about Raspbian is that it will automatically retrieve any supporting software, libraries, or other important data.
				
					sudo apt-get install sabnzbdplus


NOTE: During the installation process, if you’re paying attention to the screen, you might see an error message that says it’s aborting the process. It’s not, this is just a strange error that comes up because SABnzbd hasn’t been configured yet.

Configuring SABnzbd

  1. Open a terminal window and type “ifconfig” (no quotes) followed by pressing Enter. This will bring up your local IP address (the number after “inet” that looks like “192.168.0.0” or similar). Make a note of this number.
  2. When you’re done installing the newsreader, you’ll be brought back to the command prompt. Input the following command:
				
					sabnzbdplus --server 0.0.0.0


This will open the WebUI. You’ll see a bunch of text pass by on the screen, and then it will stop and seem like it’s stuck. Give it a minute and SABnzbd will be ready to open.

  1. Open SABnzbd by starting a browser either in your Raspbian GUI or on your local desktop. Put the following into your browser address bar:
				
					https://[The IP you noted in step 1]:8080/wizard/
				
			
  1. Follow the wizard and fill out the information as we lay out in our SABnzbd setup guide. Obviously, if you are using a different newsreader, follow the steps for that specific Usenet client.

NOTE: The wizard will help you set access control. This is necessary so you’ll be able to access SABnzbd on your Raspberry Pi without having to use the Pi directly on a monitor. Select the radio button next to “I want SABnzbd to be viewable by any pc on my network,” check “Password protect access to SABnzbd”, pick a username and password, then check “Enable HTTPS access to SABnzbd.” These ensure you’ll have regular, safe access to your newsreader.

Optional: Get UNRAR

Linux command line with a sample of the text that shows up when you just type the "unrar" command after installing the UNRAR app.

If you want to automatically be able to unpack larger posts, you’ll need to install an unrar application. This is fairly straightforward.

  1. Open a terminal window and enter the following command to edit your sources.list. This gives your Raspberry Pi another place to look for software.
				
					sudo nano /etc/apt/sources.list


Add the following to the bottom of sources.list

				
					deb-src http://archive.raspbian.org/raspbian wheezy main contrib non-free rpi


Press CTRL+X to exit nano, then Y to save and overwrite the old version.

  1. Next, update your Raspbian again with the following command.
				
					sudo apt-get update
				
			
  1. Once the update is finished, create a working directory.
				
					mkdir ~/unrar-nonfree && cd ~/unrar-nonfree
				
			
  1. Get the dependencies and source code for unrar-nonfree with the following command.
				
					sudo apt-get build-dep unrar-nonfree && sudo apt-get source -b unrar-nonfree
				
			
  1. Install the package. Keep in mind that the version may have changed, so type “ls” (no quotes) and Enter to see what the version you got was, then put in the correct number between “unrar_” and “.deb”
				
					sudo dpkg -i unrar_4.1.4-1_armhf.deb
				
			
  1. Test the installation by typing in “unrar” (no quotes) and pressing Enter. If it shows you all the potential switches, it succeeded. You can then clean up the temporary files with the following command.
				
					cd && rm -r ~/unrar-nonfree 
				
			
  1. Refresh the browser tab that SABnzbd is in to remove the “Warning” about the missing unrar utility.

Raspberry Pi Supports Other Newsreaders

Many newsreaders have versions that work with Linux and install as easily as they would in Windows or osX. Newshosting, for example, has an incredibly easy to install and setup newsreader that comes free with their service and provides access to both binary and text newsgroups.

Bottom Line

Setting up Usenet on your Raspberry Pi seems complicated at first, but if you take it a step at a time, you’ll be able to use this incredibly cost efficient basic computer to handle all of your Usenet activity separate from your main devices.

Picture of Top10Usenet

Top10Usenet

Top10Usenet is dedicated to bringing you reviews of Usenet services.